How to enable Document Map in a Report
Here are the steps to leverage the use of “Document Map” in a Report.
1. Design Report 113 Customer/Item Sales
2. Select View / Layout
3. Right click on Table top left corner
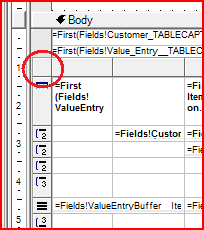
4. Select Properties
5. Navigate to “Groups” tab
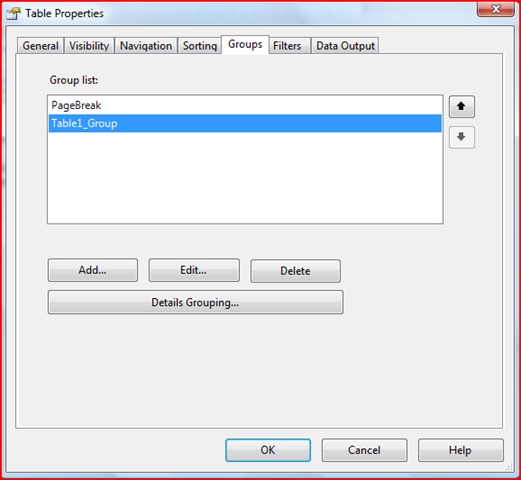
6. Select Table1_Group
7. Select “Edit…”
8. Select “=Fields!Customer_Name.Value” in “Document map label”
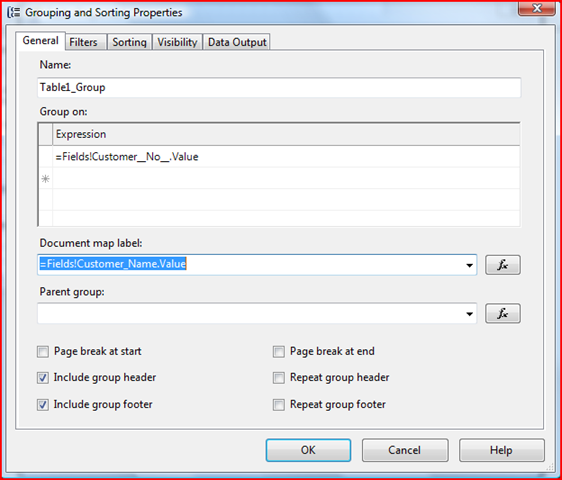
9. Select “OK”
10. Navigate to “Navigation” Tab
11. Enter “Customer” or what you want the title to be in the Document List
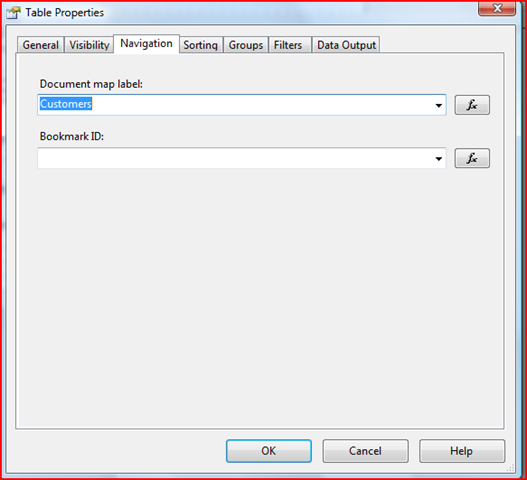
12. Select “OK”
13. Save and import RDLC changes, and then compile report in Classic client.
14. Run Report 113, it now looks like this:
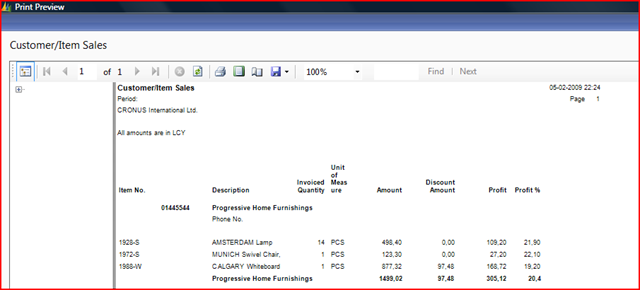
Notice the expand in the top left corner. Unfortunately this does not display anything in NAV 2009 RTM, this will be fixed in SP1.
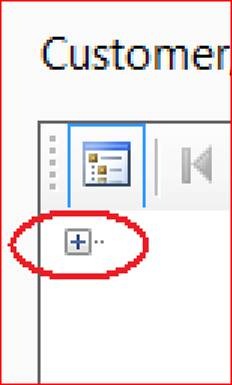
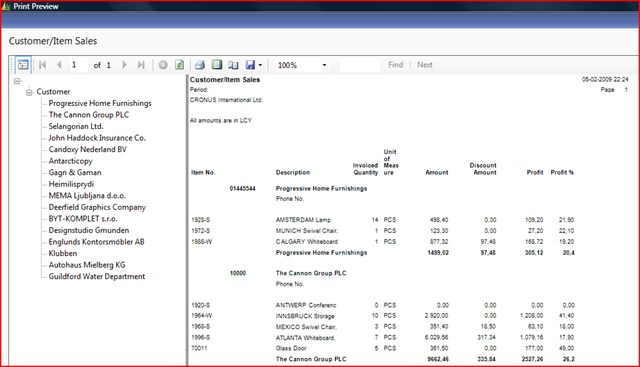
16. Click the expand button to see the Document Map
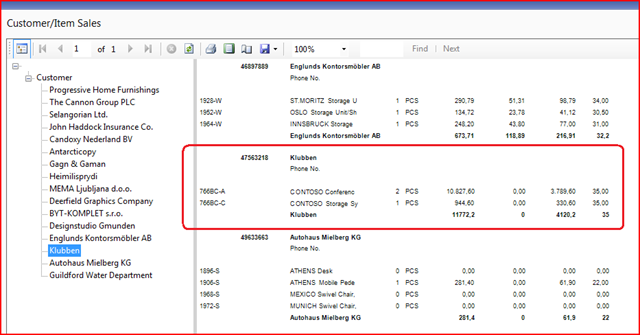
17. Now click the customer “Klubben” and notice that the report in to the right navigates to the area where info about the customer “Klubben” is displayed.
Thanks,
Claus Lundstrøm, Program Manager, Microsoft Dynamics NAV